
How to Make Your Own Saree Blouse at Home
Sarees are an integral part of Indian culture, and the blouse that accompanies them plays a crucial role in completing the ensemble. While there are countless ready-made blouses available in the market, making your own blouse can be a rewarding and personalized experience.
In this guide, we will take you through a step-by-step process to create your own saree blouse at home, customized to your size and style preferences.
Materials Required
Before We Begin, Gather the Following Materials:
- Fabric (cotton, silk, or any fabric of your choice)
- Blouse pattern (you can either buy one or draft your own)
- Sewing machine
- Thread
- Scissors
- Measuring tape
- Pins
- Iron
Step 1: Take Measurements
To ensure a perfect fit, start by taking accurate measurements of your bust, waist, and armhole depth. Use these measurements to adjust your blouse pattern or draft a new one from scratch.

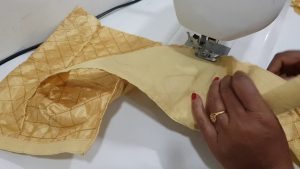
Step 2: Cut the Fabric
Select a design for your blouse and cut the fabric according to the pattern. You can opt for a traditional design or get creative with modern styles and cuts. Consider adding extra fabric for seam allowances and adjustments.
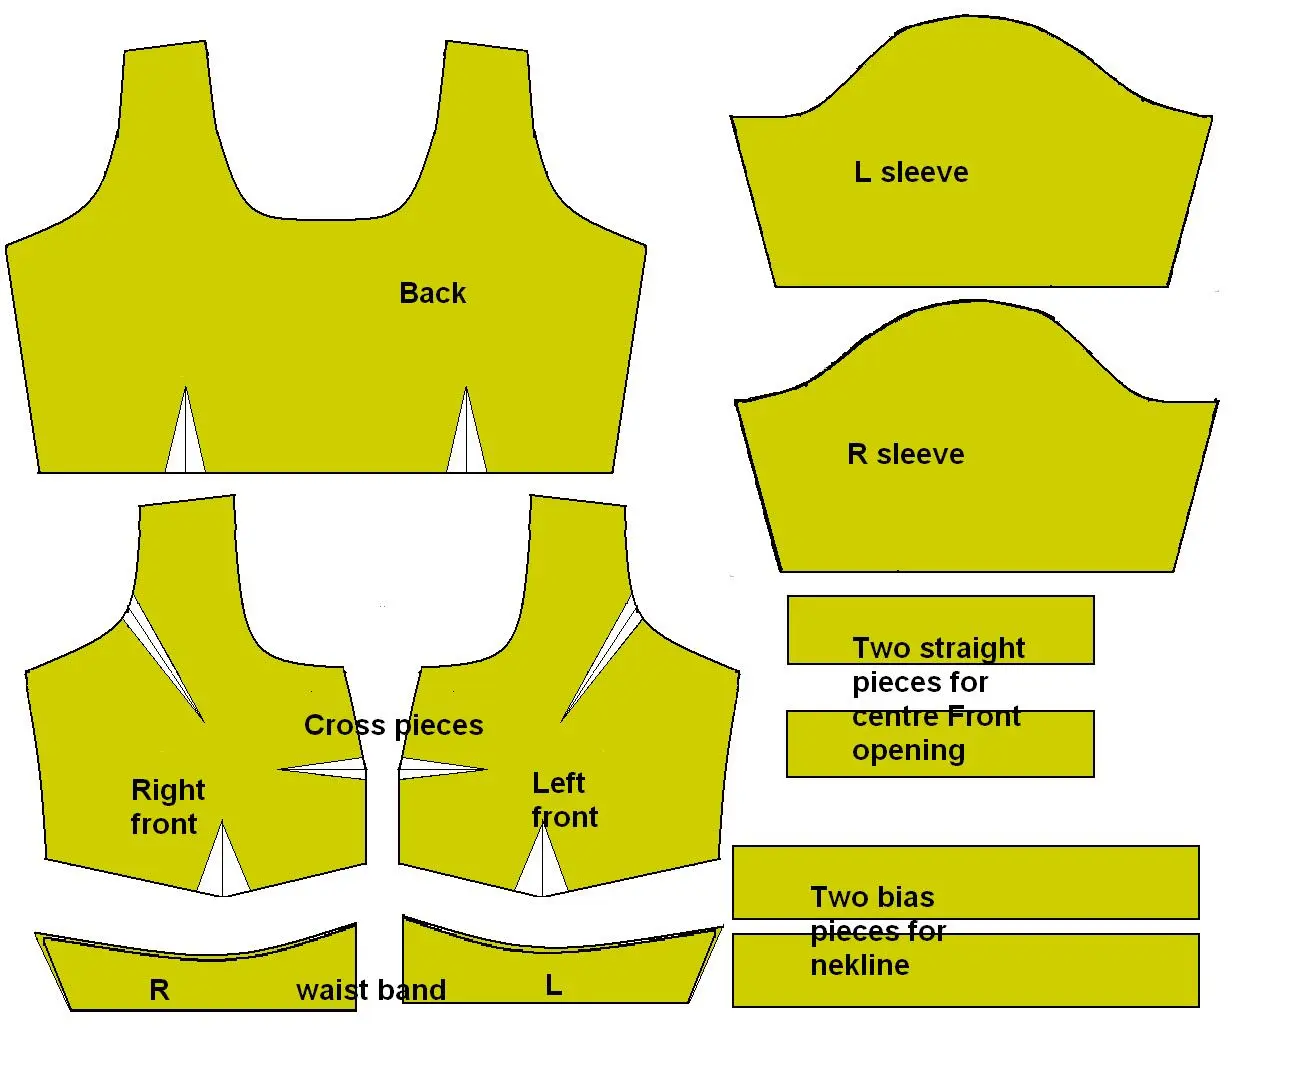
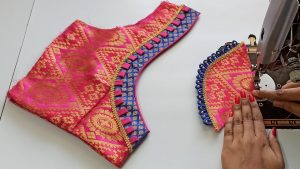
Step 3: Stitch the Body
Begin by stitching the front and back pieces together at the shoulders. Then, stitch the side seams to join the front and back panels, leaving openings for the sleeves.
Step 4: Attach the Sleeves
If you’re adding sleeves, attach them to the blouse body by matching the armhole curves and stitching them in place. You can choose from a variety of sleeve styles, such as cap sleeves, short sleeves, or full sleeves, depending on your preference.
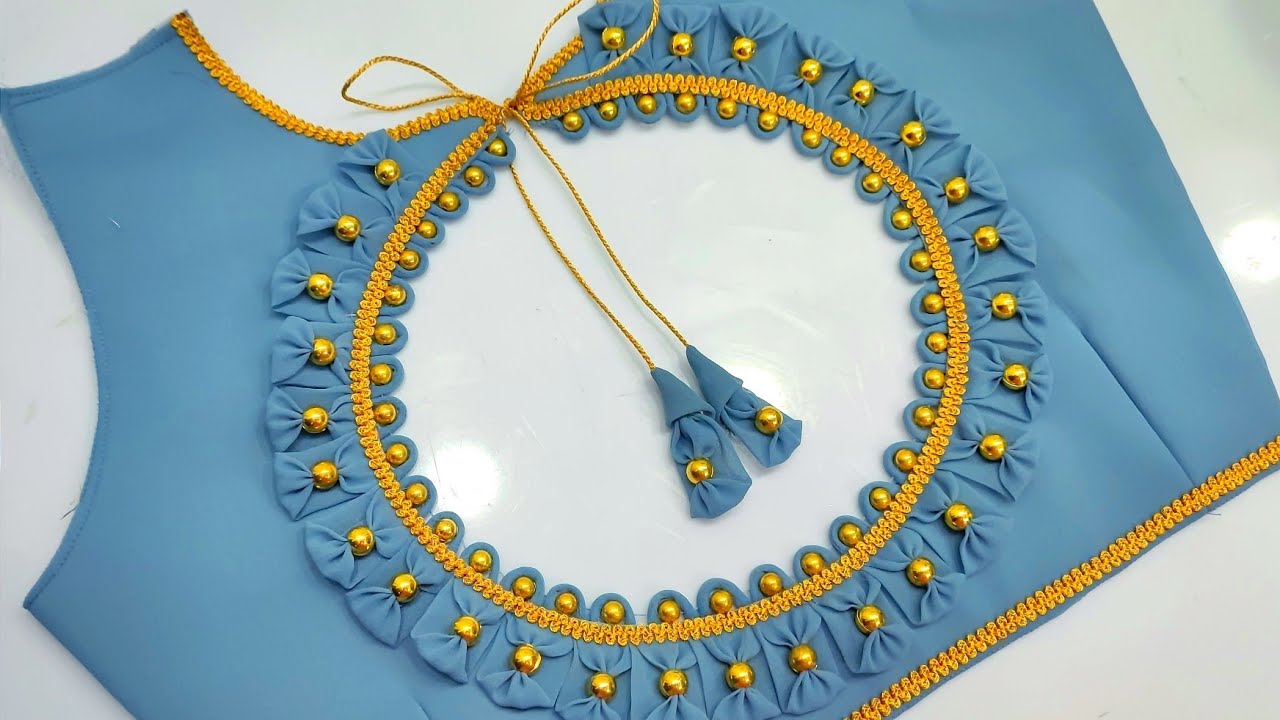
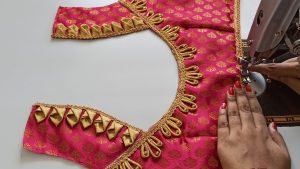
Step 5: Add Design Elements
Enhance the look of your blouse by adding embellishments like lace, sequins, or embroidery. You can also experiment with different necklines and back designs to make your blouse unique.
Step 6: Finish the Edges
To give your blouse a professional finish, hem the edges using a sewing machine or by hand. You can also use bias tape or piping to add a decorative touch to the neckline and sleeves.
Step 7: Final Touches
Once you’ve completed the construction, try on your blouse to check the fit. Make any necessary adjustments and press the blouse with an iron to give it a crisp look.
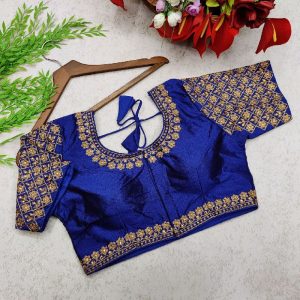
Conclusion
Making your own sarees blouse at home can be a fun and fulfilling project. Not only does it allow you to customize the design to your liking, but it also gives you a sense of accomplishment knowing that you created something beautiful with your own hands. So, the next time you’re looking for a new blouse to pair with your saree, consider making one yourself!
FAQs
Q1. Can a Beginner Make a Saree Blouse at Home?
A1. Yes. With the right measurements, a basic pattern, and a sewing machine, even a beginner can stitch a simple blouse at home.
Q2. What Materials do I Need?
A2. Fabric of your choice, a blouse pattern, sewing machine, thread, scissors, measuring tape, pins, and an iron. That is all you need to get started.
Q3. Which Fabric is Best for a Homemade Blouse?
A3. Cotton is easiest to work with for beginners. Silk looks rich but needs more care while cutting and stitching.
Q4. How Do I Get the Right Fit?
A4. Take accurate measurements of your bust, waist, and armhole depth before cutting. Always add extra fabric for seam allowances and adjustments.
Q5. Do I Need a Readymade Pattern?
A5. Not necessarily. You can buy one from a store or draft your own using your measurements. A readymade pattern just makes the process faster.
Q6. What Sleeve Styles Can I Add?
A6. Cap sleeves, short sleeves, or full sleeves all work well. Just match the armhole curves carefully before stitching them in.
Q7. How do I Make the Blouse Look More Stylish?
A7. Add lace, sequins, or embroidery for a decorative touch. You can also experiment with the neckline and back design to make it your own.
Q8. How Do I Get a Clean, Professional Finish?
A8. Hem the edges neatly using a sewing machine or by hand. Bias tape or piping along the neckline and sleeves gives a polished look.
Q9. What Should I Do after Stitching is Done?
A9. Try it on, check the fit, make any adjustments needed, and press it with a warm iron for a crisp, neat finish.
